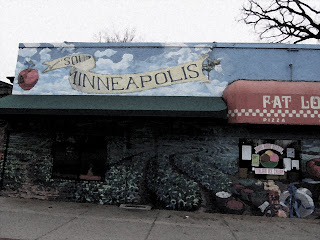
The first edit is the high contrast. I edited it with the hue and saturation that were very high numbers. I made the variance high for more color. Lastly I used the curves to make the sky appear white. This was a simple edit that I have already been using on my photos this year.
 In the second edit, I made it look as if it had a vintage color to it. I first used the curves to focus on the red, blue and yellow curves for a more of a yellow tint with lighter blues. Next I added a photo filter with a sepia hue to it so the whites would be a tea bag stained color. This was a more complex edit but fairly simple by using the curves and photo filter.
  The last edit was using the pictorialism. For the picture I made the smart layer then I added a film grain to blur the image. Then I added a Gaussian blur for more watercolor affect. I played around with some of the filters and added a water color effect with to the picture and that made it easier to convey the look I wanted.
No comments:
Post a Comment